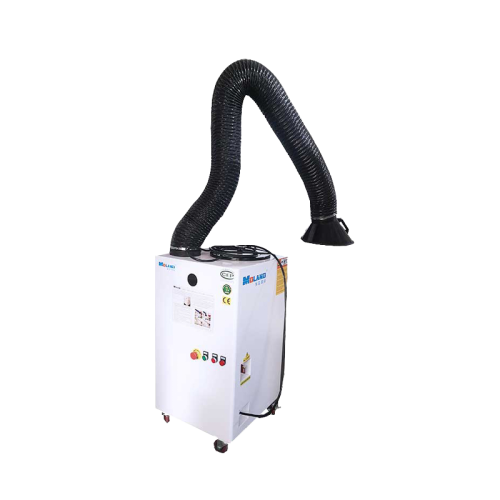
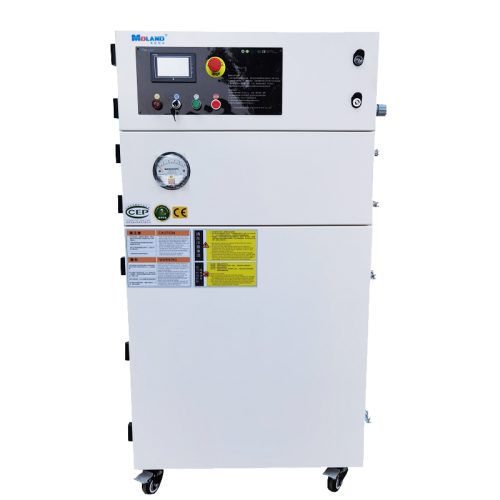
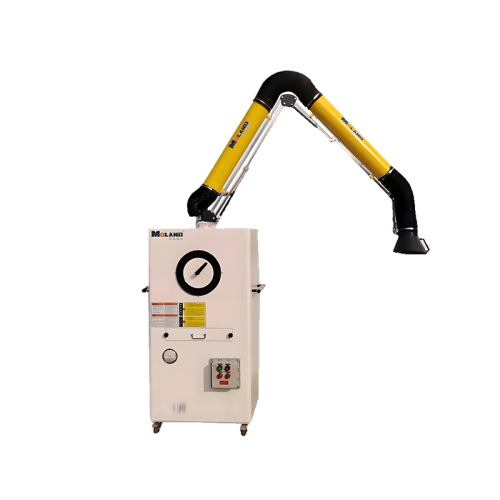
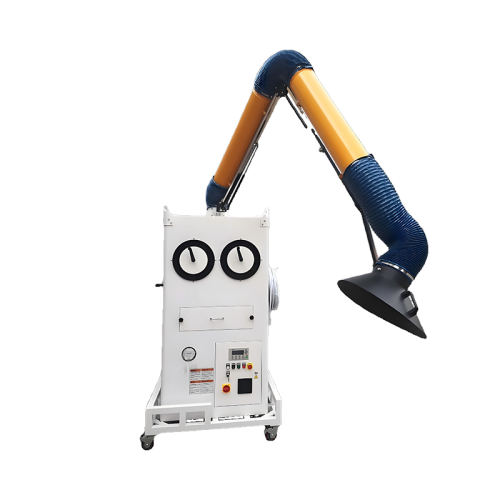
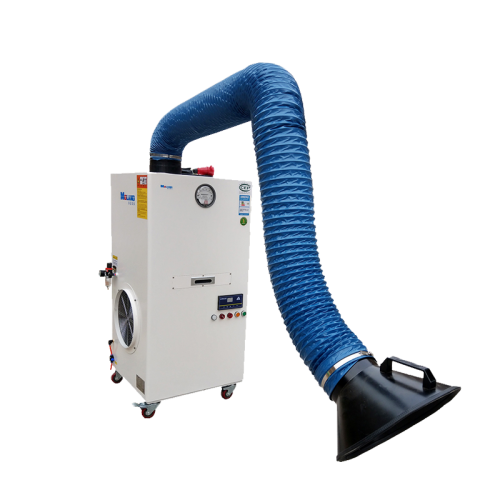
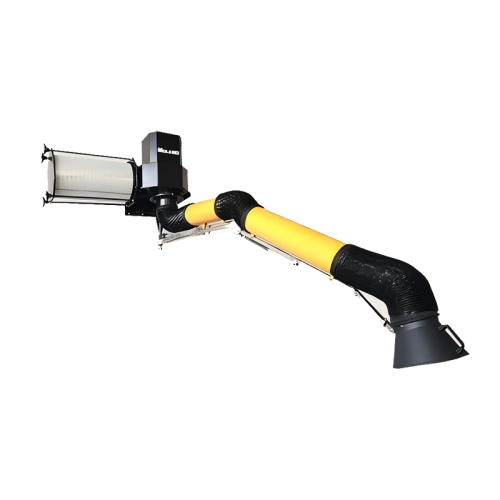
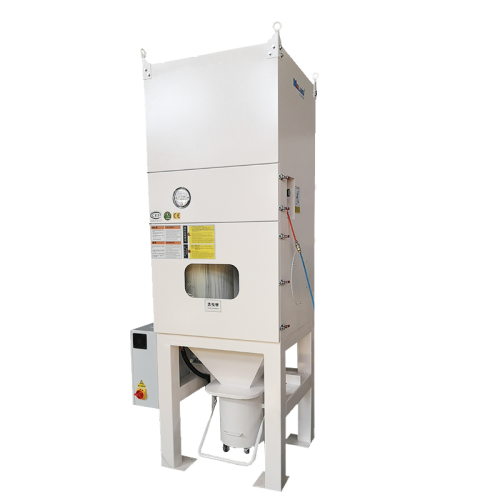
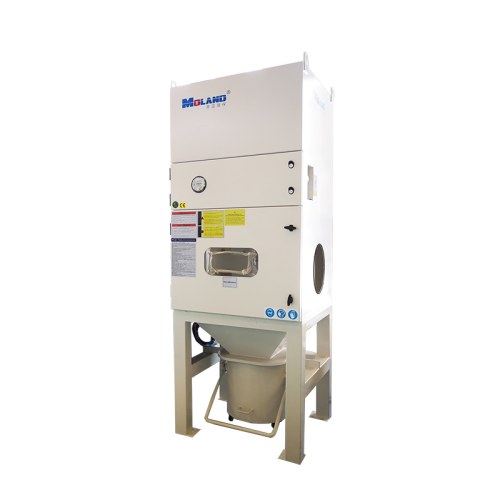
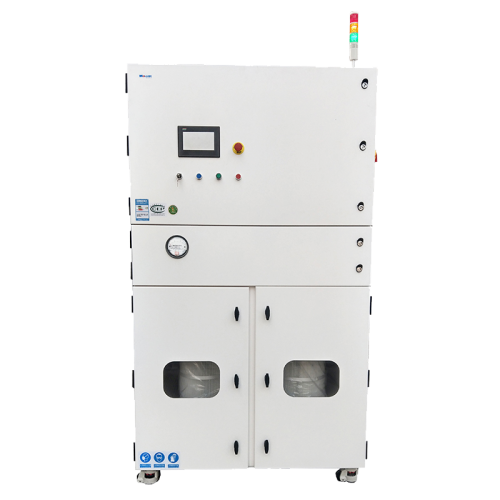
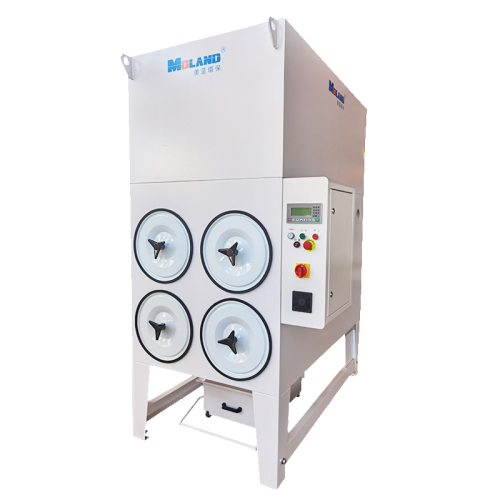
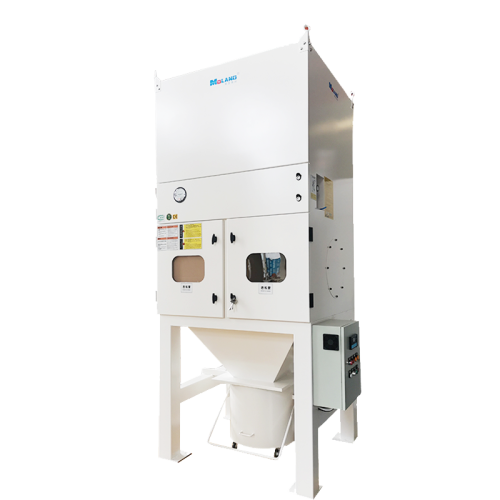
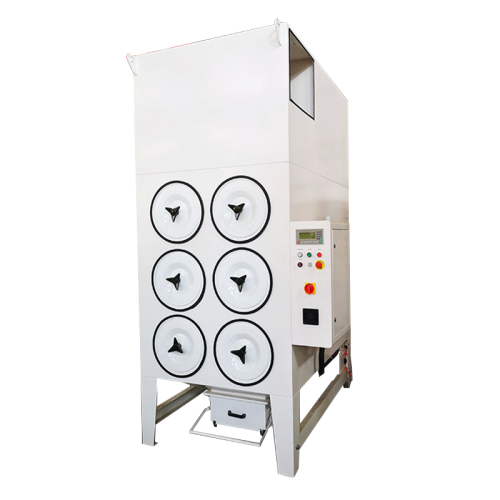
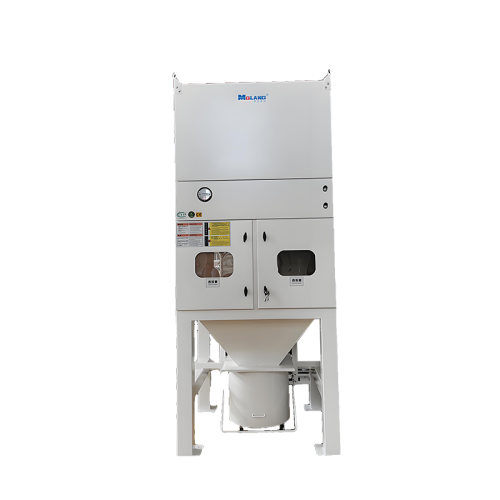
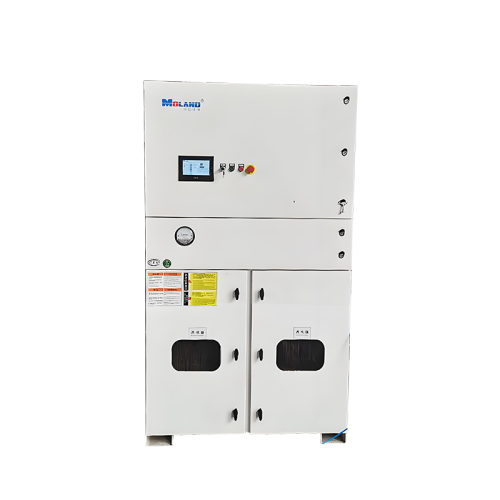
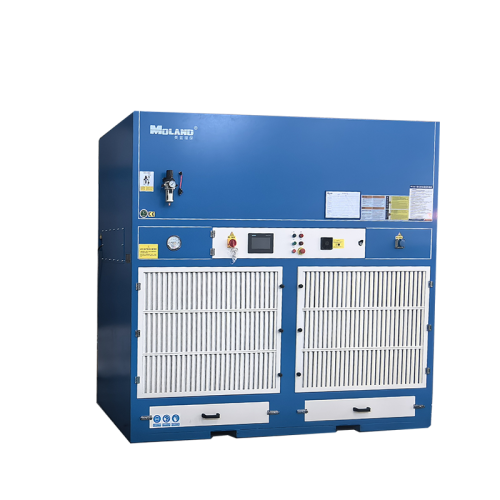
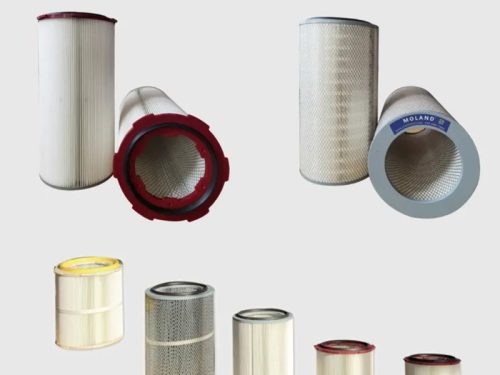
The cartridge dust collector is a type of dry dust removal equipment that uses cartridges as filtering elements to separate fine dust from the airflow. The cartridge is the key component of the entire device, directly affecting the dust removal efficiency.
Proper Use and Replacement of Dust Collector Cartridges
Notes on Using the Dust Collector
- Correct Installation:
- Ensure the cartridge is securely installed to prevent air leaks.
- Check that the sealing ring is intact to ensure good sealing.
- Regular Inspection:
- Regularly check the condition of the cartridge for damage or blockage.
- Monitor changes in the equipment’s operating pressure or airflow.
- Cleaning and Maintenance:
- Perform regular cleaning by using compressed air to back-blow the cartridge and remove accumulated dust.
Steps for Replacing the Cartridge
- Turn Off the Equipment:
- Ensure the dust collector is turned off and disconnected from the power supply before replacing the cartridge.
- Remove the Old Cartridge:
- Open the equipment casing and gently remove the old cartridge, taking care not to let dust spill out.
- Clean the Interior of the Equipment:
- Before installing the new cartridge, clean the interior of the equipment to remove excess dust and debris.
- Install the New Cartridge:
- Follow the instructions in the equipment manual to correctly install the new cartridge, ensuring a good seal.
- Check and Test:
- After closing the equipment casing, turn the equipment back on and check its operation to ensure everything is functioning properly.
- Record the Replacement Date:
- Keep a record of the cartridge replacement date for future maintenance and management.
Following these steps will ensure the efficient operation of the dust collector and the effective use of the cartridges.